A lovely floral arrangement is one of the best decorations to add to your home to sweeten up any room. Flowers add a touch of color to brighten up your day and are the perfect centerpiece when you are entertaining guests.
Crafting a beautiful bouquet of flowers isn’t just a task for a professional florist. You can learn how to design a flower arrangement for a dinner party, a gift for a loved one, or just to freshen up your home. Creating your own floral arrangement is simpler than you may think when you follow a step-by-step process.
A major perk of designing your own flower bouquet is choosing every type of bloom and making an arrangement unique to you and your style. Create your arrangement in a vase, mug, cup, or any vessel you have in your home. Regardless of the types of flowers or vases you have access to, you’ll be able to create a professional-looking bouquet that will surely impress you and your house guests.
Ready to start making unique floral arrangements at home? Follow this guide for a step-by-step lesson on how to cut and design flower bouquets.
Step 1: Gather Your Tools
Before you start placing flowers in a vase, you’ll need to collect the proper tools and materials to help you create your own floral masterpiece. You’ll need a set of hand tools to shape your flowers and hardware or equipment for arranging your flowers.
Search for these materials before crafting your flower arrangement:
- Floral shears: You’ll use your florist shears or clippers to cut leaves, stems, or heads of flowers. Keep your shears sharp enough to make a clean and precise cut through your flowers. Use florist shears over scissors to cut through the stems easier and more efficiently.
- Florist knife: Using a florist knife is similar to using florist shears or clippers. Use this tool for cutting the stems of your flowers. You can use various knives around your home if you want to refrain from purchasing a florist knife, like a paring knife or Swiss Army knife.
- Wire cutters: You’ll use this tool for trimming floral wire and other flower-securing products. Wire cutters are built to cut through wire, unlike your florist shears or knives.
- Ribbon scissors: Tools for the design or embellishment part of your floral arrangement are beneficial to have. You can use ribbon scissors to cut the ribbon or fabric you’ll add to your design. Remember, you should use these ribbon scissors for cutting fabric, not for trimming flowers.
- Floral foam: Adding floral foam to your arrangement provides support for your flowers and allows you to position them exactly where you want to in the vase. The foam should be soaked in water before creating the bouquet to keep fresh flowers hydrated.
- Clear floral tape: Floral tape is strong, and you can use it to create a grid pattern on the top of your vase or cup. The grid lets you place flowers where you want to and have more structure in your arrangement. You could also use this tape to stick your foam to the container or vase.
- Florist wire: Use florist wire to secure flowers together or to steady single flowers around their stems. Floral wire is often green or silver and varies in thickness for flower design.
- String or twine: Instead of wire, you can also use twine or string to tie bouquets together. These materials may be more visible than wire, so ensure they match the overall aesthetic you want for your arrangement.
- Flower food: Flower food provides nutrients for your fresh flowers after you cut the stems and place them in a vase full of water. It also keeps your water cleaner for longer. You’ll usually find a packet of flower food included with the flowers you purchase at a store, but if you don’t have any flower food, you can purchase some online.
- Vase: Find a cute and clean vase in your home for your flowers. Make sure to clean the vase thoroughly, especially if it recently held another arrangement.
- Decorations: Supplies like ribbon, fabric, pearls, gems, and other floral embellishments are optional but fun to include if you want to create a unique floral arrangement.
You can find most of these tools at your local floral shop, home improvement store, craft store, or online. Once you’ve collected your tools and materials, you’re ready to start learning how to arrange flowers step-by-step.
Step 2: Select Your Flowers and Accent Elements
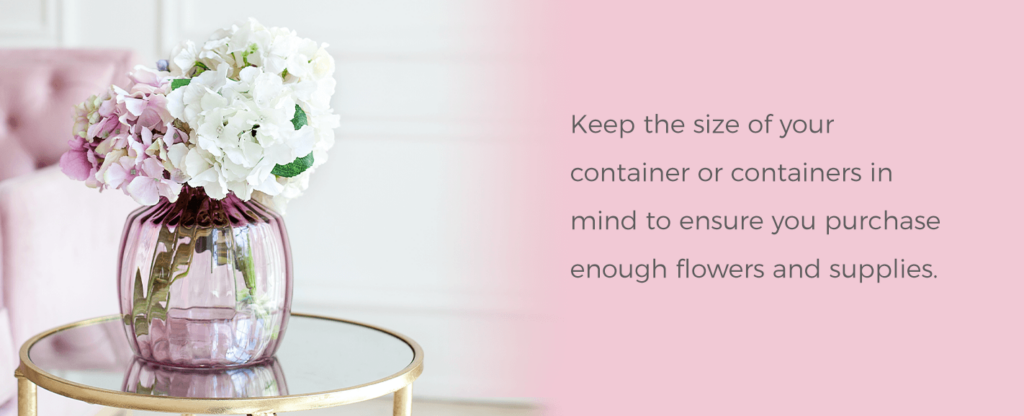
Now that you have your tools, it’s time to gather the most important material. Selecting your flowers is the most exciting step because you can choose whichever blooms are your favorite. Learn how to design a flower bouquet and search for blooms in your favorite color or variety, unique shapes and colors, or ones in-season where you live. Keep the size of your container or containers in mind to ensure you purchase enough flowers and supplies.
Look for your perfect blossoms and accent elements to create the best bouquet of flowers and use lovely color options. Get inspired with these suggestions:
- Local blooms: When you’re deciding on what flowers to incorporate into your flower design, consider showcasing local blooms. Local and in-season floral options are more affordable, and they will blend well with the current season. Year-round flowers will always be available, like roses, orchids, and carnations. But local blooms are some of the best flowers to put in a bouquet, and you’ll feel like you’re bringing a little piece of nature from your own backyard into your home.
- Various shapes and sizes: Adding dimension to your floral arrangement by using flowers and greenery in various shapes and sizes is key. This variety will add texture to your arrangement and help with the overall flower design.
- Floral colors: Choose the best bouquet colors by selecting flowers that complement each other. Create a color scheme based on the time of year, or choose some of your favorite colors that pair nicely together. You could also complement the room you’ll place the arrangement in. For a fall floral arrangement, stick with red, orange, brown, and yellow tones that blend nicely together. Or, if you’re making a purple arrangement because it’s a lovely color, you can incorporate purple flowers, white flowers, and some greenery to create a stunning arrangement.
- Greenery: Pick out some greenery to complement your fresh flowers and add volume to your bouquet. You’ll use the greenery to fill in extra space within the bouquet and cover any bare spots. Eucalyptus, evergreen, lemon leaf, or ivy are a few greenery options. Depending on your container’s size and how many flowers you use, greenery can be optional, but it’s an excellent way to add texture.
- Accent flower: The flower that stands out and shines like a new piece of jewelry is your accent flower. These blooms are special because of their shape, color, or other unique visual characteristics that make them a focal point of the arrangement. Common accent flowers can include anemones, dahlias, orchids, or lavender. These blossoms will transform your floral arrangement. You can use as many or as little of the accent flowers as you want for your DIY bouquet.
Step 3: Prep Your Vases
With your tools, materials, and fresh flowers ready, begin preparing your vases for your floral arrangement. You can turn almost any container in your home into a vase for flowers. Your favorite mug or glass cup with intricate details will be the perfect container for your bouquet of flowers. Or go larger with a grand vase.
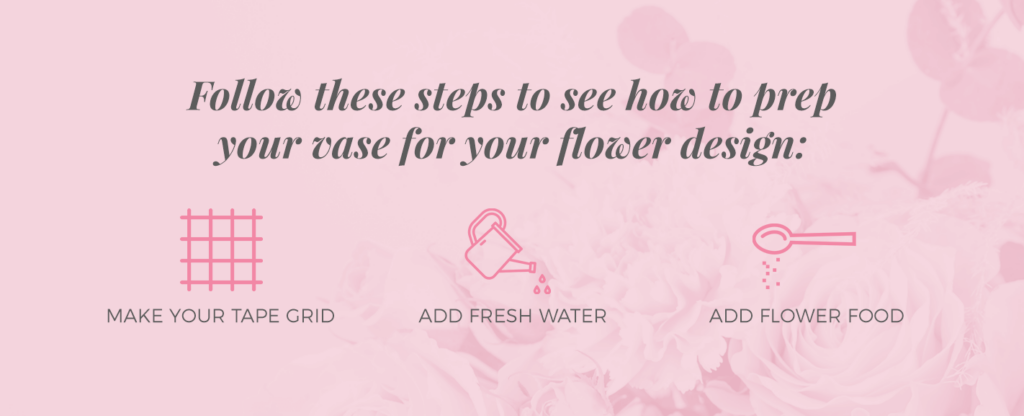
Follow these steps to see how to prep your vase for your flower design:
- Make your tape grid: Your first task is to assemble a grid with clear floral tape at the top of your vase. This step will help you methodically place flowers in your vase and support the blooms for a nice arrangement shape. Once you’ve created the tape grid, secure it by taping around the rim of the container.
- Add fresh water: Fill your vase up generously with fresh water in preparation for your lively flowers. A helpful tip for keeping your flowers alive longer is to change your water every day. If you don’t have time every day, every other day is fine. Leaving your flowers in water any longer could cause bacteria growth and decrease the life of your flowers.
- Add flower food: Stir in the flower food to help preserve your flowers. Follow the directions on the packet to measure the correct amount, or dust in small amounts to each vase so you have some leftover for more floral arrangements.
Step 4: Prep and Position Your Flowers
After you’ve prepared your vases, it’s time to understand how to arrange a bouquet in a vase. Before you place your flowers into the vase, it’s best to complete a few essential steps to make your floral arrangement look great and last for a long time.
Learn how to arrange a bouquet and prepare your flowers with these flower arrangement techniques:
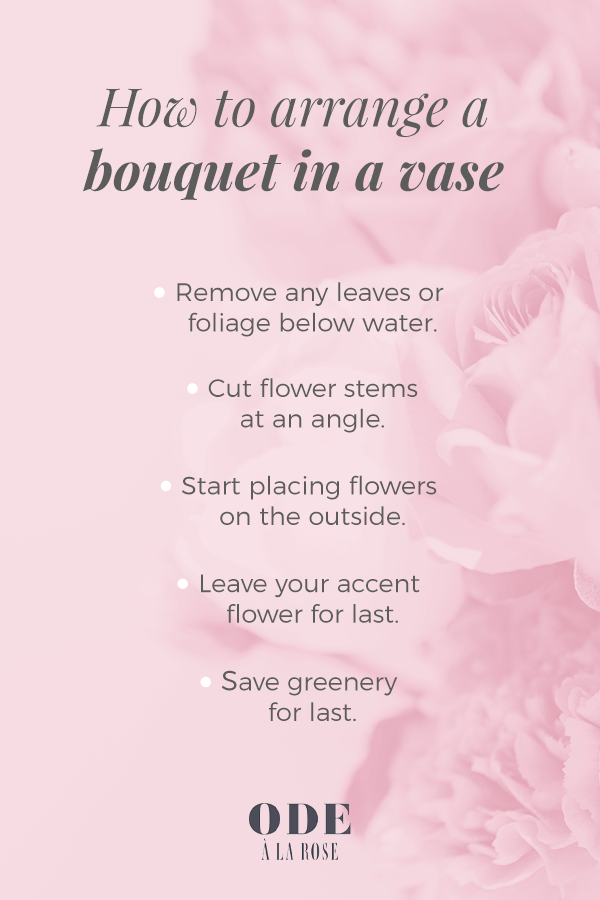
- Remove any leaves or foliage that will be below water: Removing the leaves or foliage that would sit below the water is an essential step while you prep your flowers. Leaves in the water will lead to extra bacteria growth, causing your flowers to wilt faster. Keep a few leaves at the top of the flower if you’d like to add some texture and color to your arrangement.
- Cut flower stems at an angle: You’ll need to cut the flower stems so they fit nicely in your vase. Clip them at an angle to increase the flowers’ water absorption. After you trim your stems, it’s best to arrange flowers in a vase immediately so they don’t dry out.
- Start placing flowers on the outside: A beneficial flower arranging tip is to start placing your flowers in the outer edge of the vase and work your way in. Start with one type of flower and move on to the other types as you fill up your vase.
- Leave your accent flower for last: Save the best for last as you’re arranging your blooms. Since your accent flower is special, add it to your design at the end. It’s best to place them above the other flowers so they have room to be full and stand out.
- Save greenery for last: Now that you’ve placed all the flowers in the vase, see if there is room to add any greenery. After using the tape grid and placing all of your flowers, you might not need any greenery. Fill in small gaps or add more volume if you think it will help enhance your floral design.
Step 5: Step Back and Make Any Final Tweaks
Now it’s time to make the finishing touches to your lovely bouquet of flowers. During this step, you can trim up some of the stems more, move flowers around, add more flowers or greenery, and make your arrangement look perfect. At this stage, look at the arrangement from all angles and see if any spots need extra attention.
Once all of your fresh blooms are in place, consider adding some embellishments like ribbon, gems, fabric, and more details to complete the look of your flower bouquet.
With those steps complete, you’ve successfully created your DIY flower arrangement! You can keep your beautiful creation alive longer by storing it in the refrigerator overnight. This step will allow you to enjoy the presence of your flowers as long as possible.
After learning how to make a floral arrangement, you can start creating them more often and fill your home with gorgeous floral bouquets.
Shop Our Farm Fresh Flower Stems to Incorporate Into Your Bouquet
Designing your own flower arrangement at home is a fun and creative activity. Every time you create a new bouquet, you can play around with new flowers, colors, vases, and design ideas. Use your new florist skills when you decorate for events like the holidays or parties or create thoughtful gifts for your friends and family.
If you’re looking for some beautiful blooms for your next DIY arrangement, check out the farm-fresh flowers from Ode à la Rose.
Our fresh from the farm flowers are some of the loveliest blooms you can receive directly to your front door. We carefully source our offerings from eco-friendly farms in Holland and Ecuador. When you order farm-fresh flowers, they are then carefully packaged and shipped to the U.S. for you to design elegant arrangements at home. Since the flowers are shipping directly from the farm to your home, they will be fresh and long-lasting if you properly take care of your stunning creations.
Ode à la Rose ships flowers nationwide. Take a look at our flower delivery zones to see what kind of delivery options are available for your city. Search through our other floral products or contact us with any questions about our fresh flowers.